There are scenarios when an employee is new to work and may not get used to the idea of clock in during the start of work and clock out during the work end from GuniTime mobile application. In those cases the admin needs to enter the work time for that particular employee from the GuniTime Admin Panel. Here we discuss how to do that.
- So first of all the you need to login to GuniTime Admin Panel and open Timesheet from the side navigation drawer. You can also do that by clicking the following link:
- Once opened you have the complete timesheet page in front of you which consist of all the for each employee of their work time, break, over limit and much more and for that you can visit our article about Timesheet.
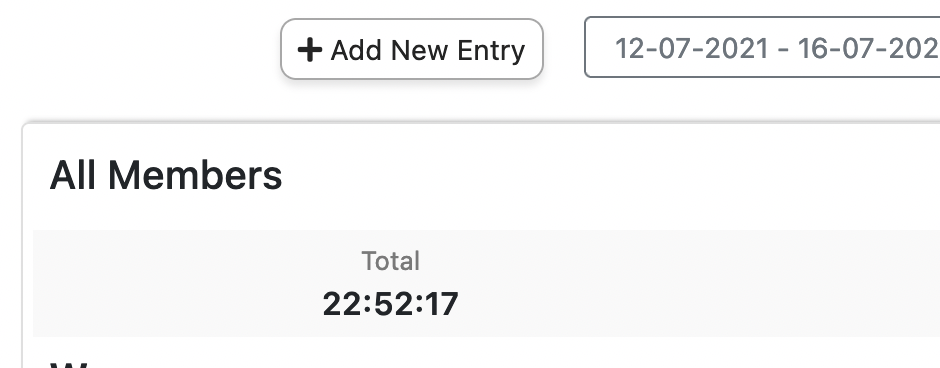
- But here you need to click on Add New Entry button from the top.
- Now you have a popup window in front of you where you need to fill all the details as shown below:
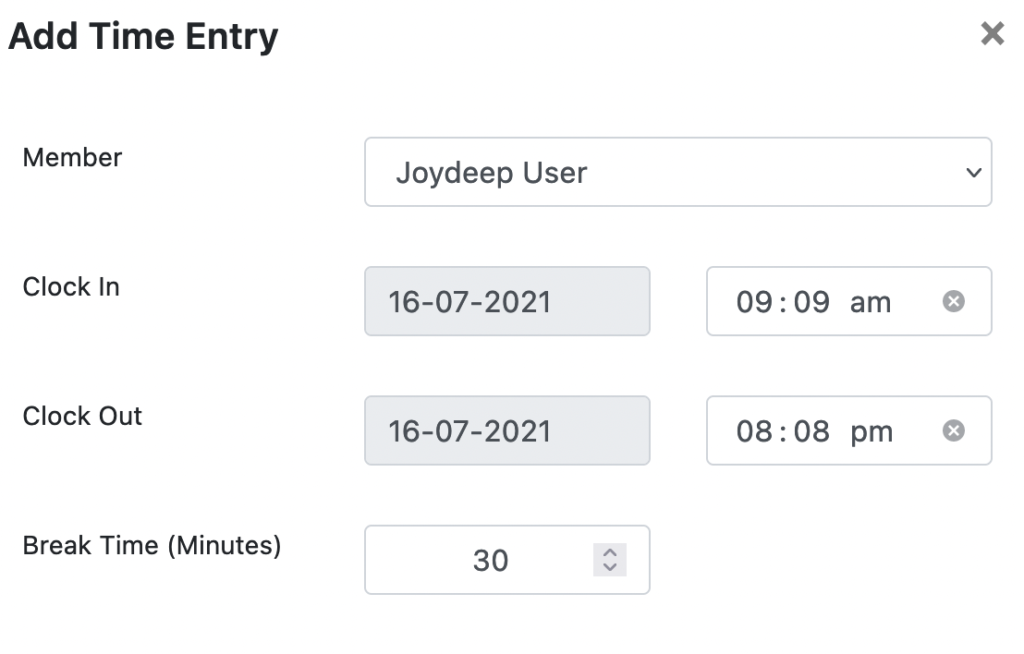
- First You need to select that particular member from the dropdown for whom you are doing the manual entry. Then select the clock in date and time and do the same for clock out date and time.
- You also need to enter the Break Time in minutes if the employee take any break.
- Now there is a section to select the job type from job types shown.
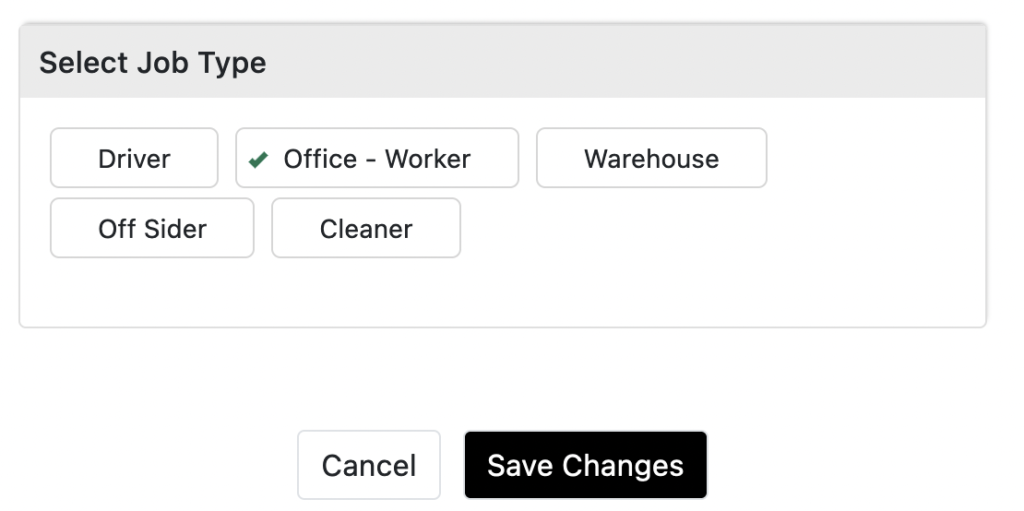
- If you select a job type which is not related to vehicle like job type other than driver in our case then you can tap on Save Changes and done, you have the new entry added in your timesheet.
- In case the job type you selected is Driver or vehicle related then you have few more inputs to provide.
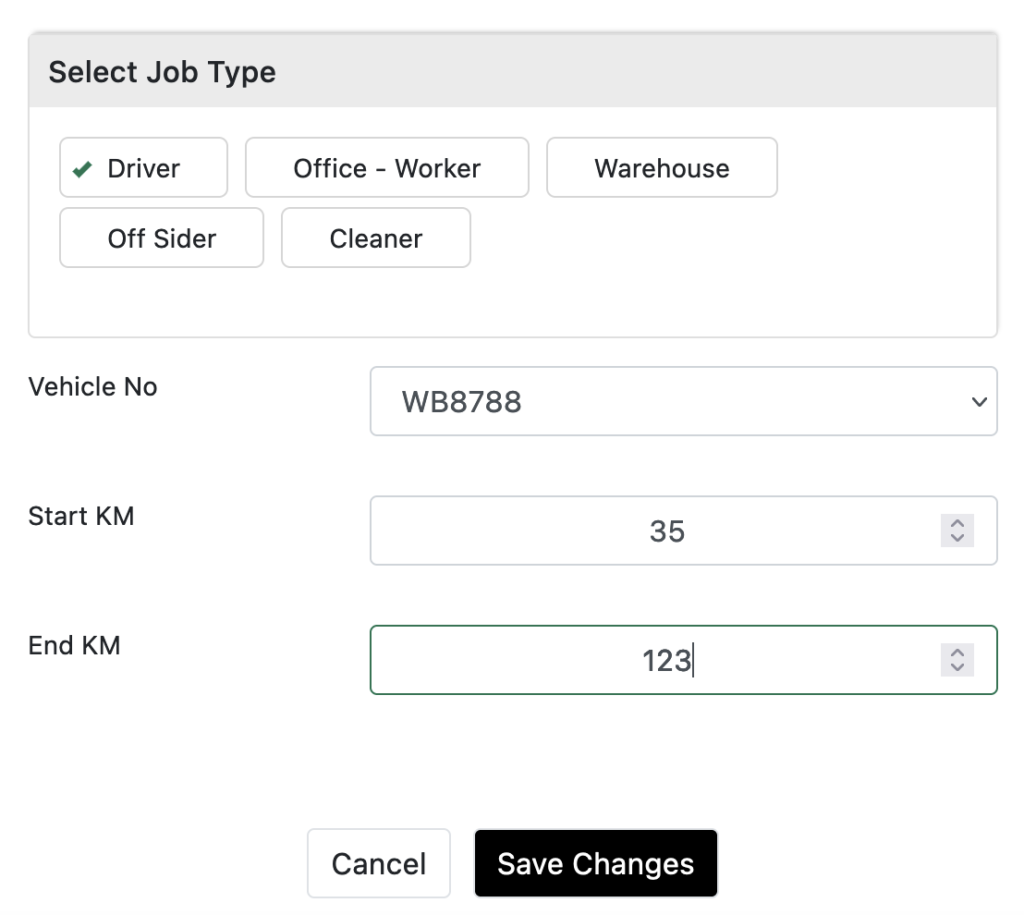
- First you have to select the Truck or Vehicle Registration number from the drop down and then you need to enter the start km for that truck when started for that date and also the end km for that truck when work end for that date.
- Then you can click on Save Changes and that’s it and you are able to see your entry on that page.