Adding new reimbursement from GuniTime mobile application is very easy and you can learn that in this article.
- So first you need to have the GuniTime application installed in your Android or IOS mobile.
- Now first open the app and slide the left drawer of the application from left and there you have an option named as Reimbursement.
- But before tapping on Reimbursement option you need to make sure that you are clocked in to your work so that the reimbursement can automatically added to your current work.
- To validate clock in status you need to move back to home screen and check if you already clocked in and if yes then the circular big button in the middle will show clock out like this:
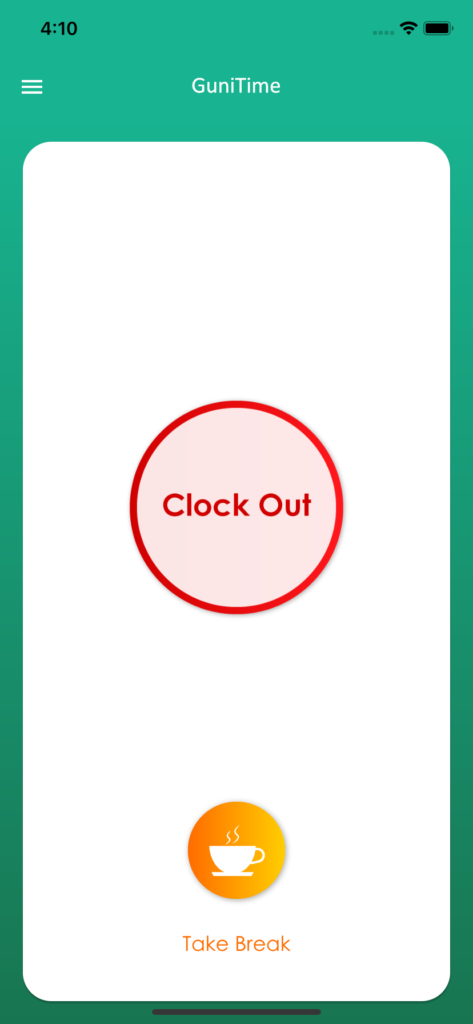
In case you need to know more about Clock In and Clock Out then you can follow this article: GuniTime Application Clock In and Clock Out
- Once you are clocked in, now you can upload your reimbursements. To do that open the side drawer and tap on Reimbursement menu.
- Then it will fetch all your active reimbursements and show you like below.
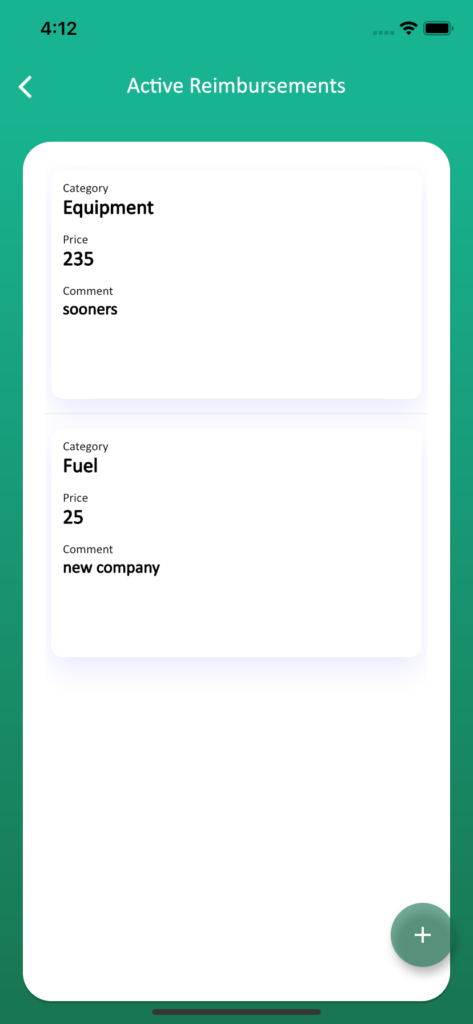
- In case you are here first time in the reimbursement screen. The screen will be blank in that case and there will not be any data. So in either case you need to add new reimbursement by tapping on the plus icon on the screen’s bottom. It will open a new page to add reimbursement.

- There is a dropdown on the top and from that you need to select the reimbursement type like fuel or equipment and then you need to type a comment or reason for that reimbursement. After that you need to add the amount spent for that service or product and then there is a option to add images relevant to that notification like a receipt.
- That’s it and now you need to tap on Upload Reimbursement and everything is correct then you will get a message that your reimbursement is uploaded successfully.
- Now you will move back to Active Reimbursement page where you can see all the active reimbursements.